

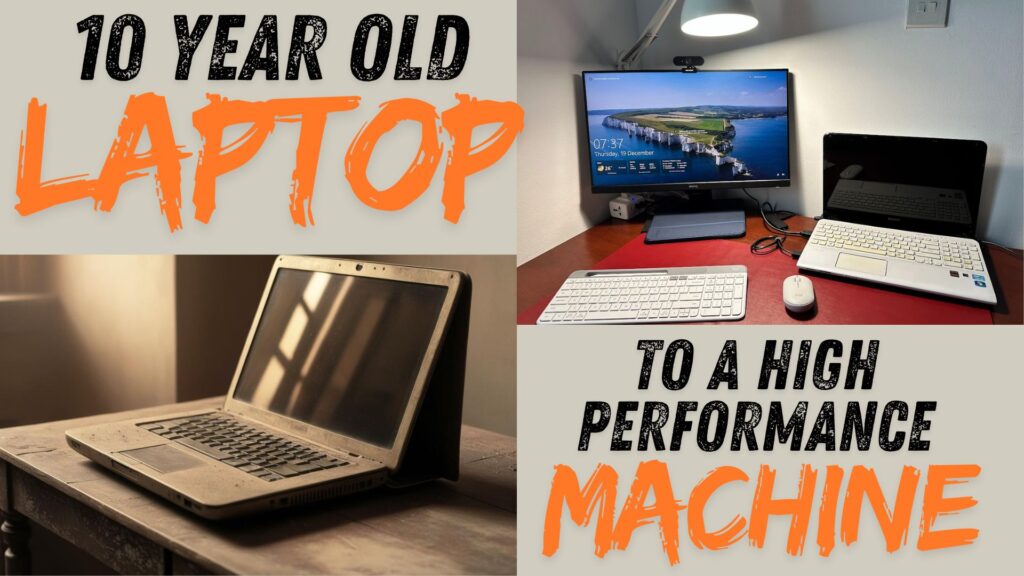
Ever felt like your old laptop was just collecting dust, sitting there sluggish and outdated? I was in the same boat with my trusty Sony Vaio from 2012. But instead of letting it fade into irrelevance, I decided to give it a new lease on life. And guess what? It’s now a high-performing machine! If you’re looking to breathe new life into your old laptop, keep reading—this might just be the guide you need.
Total cost for this upgrade was less than 3000 INR (40$).
After the upgrade, my laptop’s startup time improved dramatically, reducing by 90%. Previously, it took 15 minutes to boot up, but now it starts in just 1 minute!
The Backstory
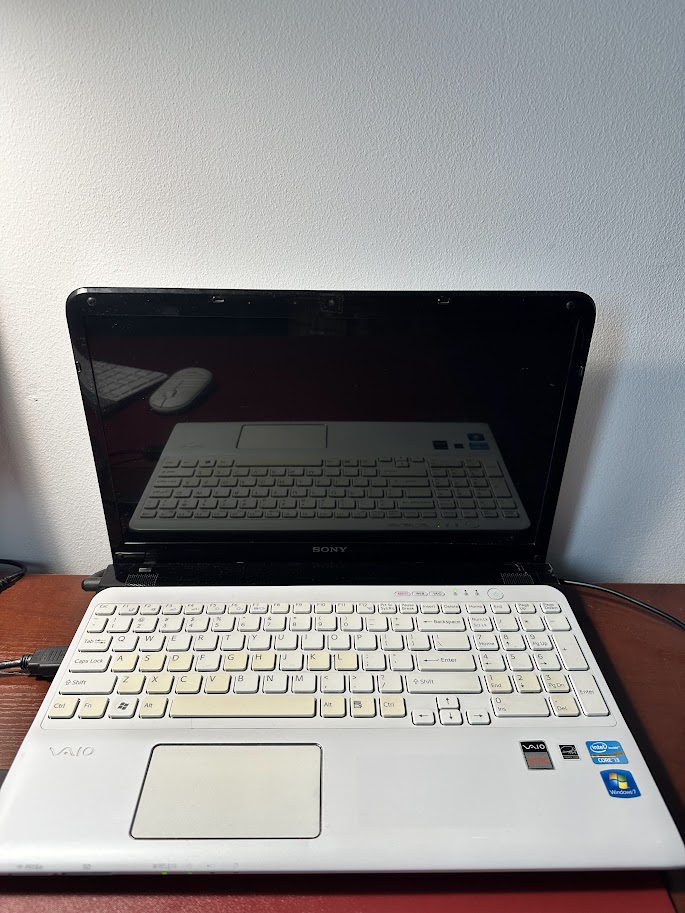
I bought my Sony Vaio Core i3 2nd Gen laptop with 6GB RAM back in 2012. It served me well for a few years until performance issues started creeping in. Eventually, I upgraded to an HP Envy Core i7 in 2018. My old Sony Vaio was sidelined, but I always hoped to make it usable again someday. Fast forward to now, and that dream is a reality!
Here’s how I did it, step by step, and how you can too.
The Two Key Components to Check
Before jumping into upgrades, let’s assess what’s causing your laptop to lag. You’ll need to focus on two critical components:
1. RAM (Memory)
Check your laptop’s memory usage via Windows Resource Manager. If it’s consistently above 80%, it’s time for a RAM upgrade. Thankfully, my 6GB RAM was sufficient, so no changes were needed here.
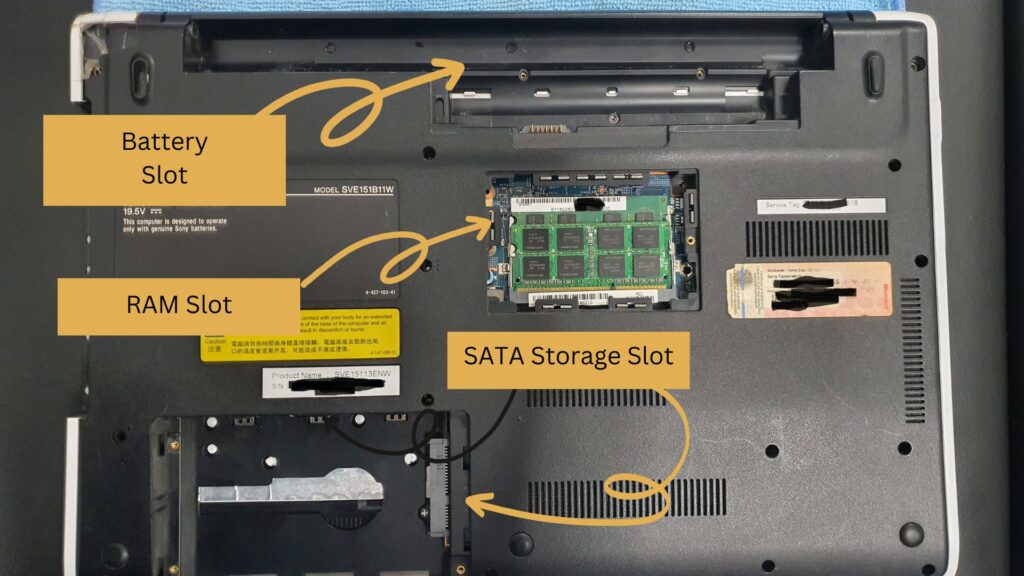
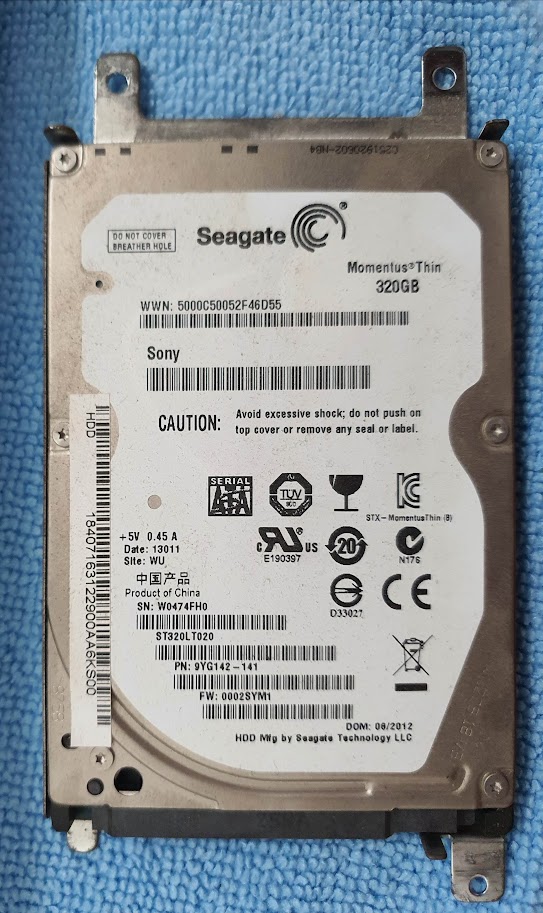
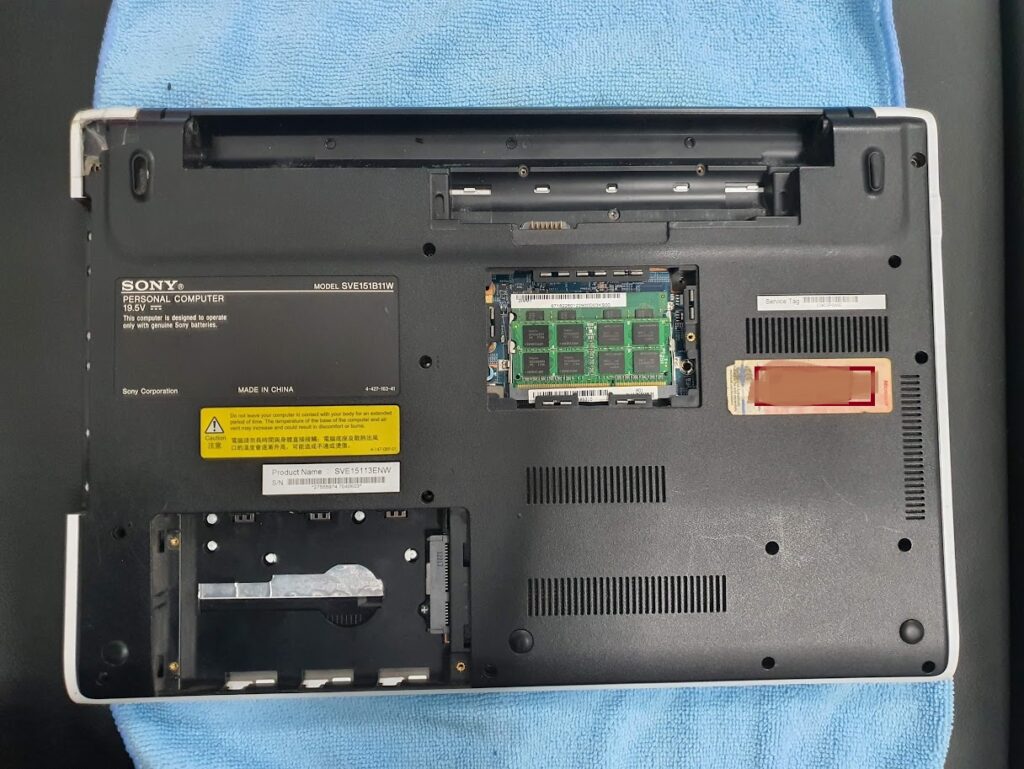
2. Storage Disk Drive
Most older laptops come with a Hard Disk Drive (HDD). These drives are significantly slower compared to modern Solid State Drives (SSDs). In my case, the HDD was the bottleneck, and upgrading to an SSD was the game-changer. If you’re seeing high disk usage in Windows Resource Manager, an SSD upgrade is your best bet.
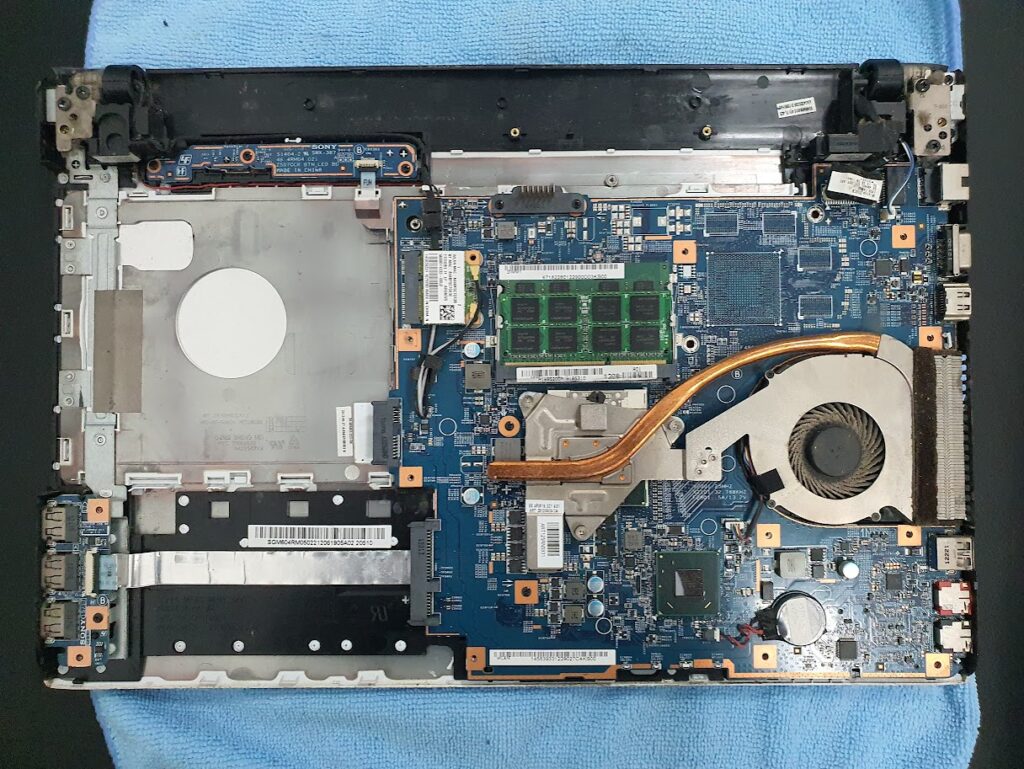
The Transformation: Upgrading to an SSD
I chose a Crucial SSD for its DIY-friendly setup. Here’s how you can follow the same path:
Step 1: Compatibility Check
Determine whether your laptop supports SATA or PCIe SSDs. For most older laptops, including mine, SATA is the standard. Crucial’s website has a compatibility tool that makes this process easy.
Step 2: Gather Your Tools
- A Crucial SSD (I bought mine from Amazon)
- A SATA external case for transferring data
- An electronic screwdriwer
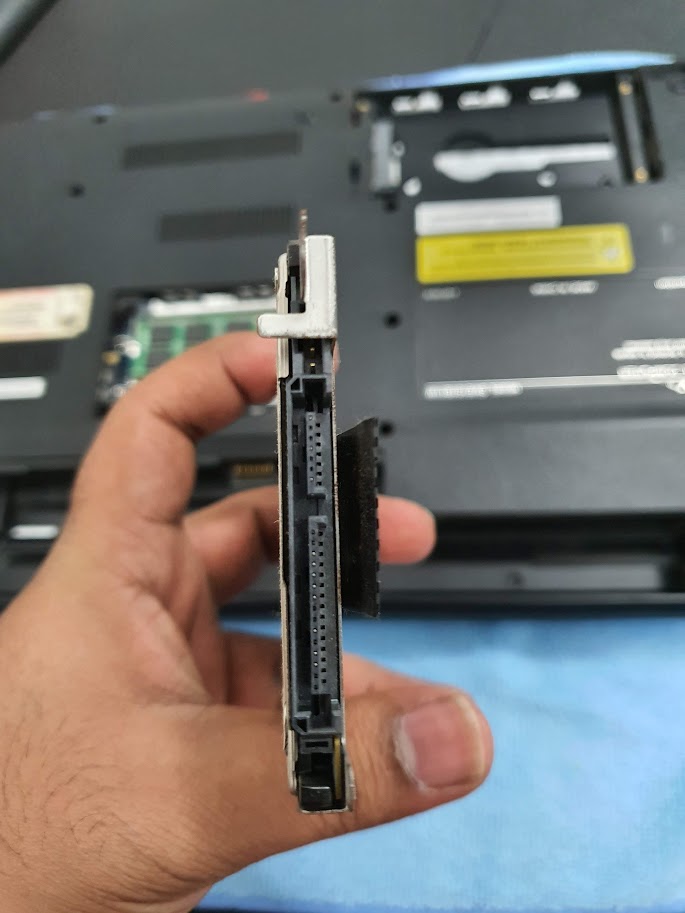
Step 3: Data Transfer
- Install the new SSD into the SATA external case.
- Download and install Crucial’s data transfer software on your laptop.
- Clone your existing data to the SSD.
- Replace the old HDD with the new SSD. (Don’t worry, this step is easier than it sounds.)
Step 4: A Fresh Start
Power on your laptop and enjoy the dramatic speed boost! Boot times, app launches, and overall performance will feel like you’ve got a brand-new machine.
Bonus Tip: Repurpose Your Old HDD
Don’t toss that old HDD just yet. By placing it in the external SATA case you purchased, you can turn it into portable external storage. It’s a win-win!
Useful Links
- SSD Compatibility Checker
- Crucial Data Transfer Software
- Crucial NAND SSD 500 GB
- HDD/SSD External Case
- Screwdriver Set
The Results
After this simple upgrade, my 10-year-old laptop now performs like a champ. From handling multitasking to running modern software, it’s as if it’s been given a new life. The best part? The entire transformation was budget-friendly and DIY-friendly.
Final Thoughts
If you’ve been thinking about upgrading an old laptop, don’t hesitate. With just a small investment in an SSD and some time, you can make your machine as good as new. Trust me, it’s worth it.
Good luck, and happy upgrading!


Leave a Reply